Autor: MichaelFliegner

  • NIXOS is awesome

    • Yesterday I
      • installed NIXOS on my old Thinkpad X1 Yoga,
      • installed vscode, git, vorta, kleopatra, ente-auth, nextcloud client, vivaldi and tuba and
      • built my first nixbook iso from my fork of mkelly’s repo
    • Today I
      • installed home manager and virtmanager and
      • installed and booted my first virtual nixbook

    No quirks, no glitches, everything worked for this NIXOS newbie.

  • SnowFlake

    My eight year old Yoga X1 now sports a SnowFlake. For too long I flinched before the effort to learn Nix. Taken my first steps now.

  • nixbook distro fork

    Ich möchte aus der fabelhaften distro von Mike Kelly, die es möglich macht

    „to convert your old computer (even chromebook) to a user friendly, lightweight, durable, and auto updating operating system build on top of NixOS.

    The goal is to create a ‚chromebook like‘ unbreakable computer to give to basic users who know nothing about Linux and won’t need to ever worry about updates / upgrades.“ Mike Kelly,

    eine angepasste Version bauen, die u.a.

    • auf codeberg gehostet wird
    • anstelle von chrome vivaldi und brave vorinstalliert

    Dazu muss man zuerst in forks von Mikes Repos nixbook und nixbook-installer, die Referenzen auf Mikes nixbook durch solche auf dessen Fork ersetzen. Hintergrund: der Installer bezieht die Konfigurationsdateien für die Installation von nixbook.

    Dies hat neben der technischen auch eine soziale Seite: diese Referenzen implizieren auch eine Abhängigkeit des Benutzers der Distro vom Owner des Repos – und das sollte eine irgendwie geartete Institution sein, statt einer Einzelperson.

    Daraus ergibt sich das nächste Ziel: So eine Institution zu finden oder zu schaffen.

  • nixbook

    endof10 #nixbook #nixos

    Moin. Eben gesehen. Bin ganz heiss auf

    https://github.com/mkellyxp/nixbook

    „Convert your old computer (even chromebook) to a user friendly, lightweight, durable, and auto updating operating system build on top of NixOS.

    The goal is to create a „chromebook like“ unbreakable computer to give to basic users who know nothing about Linux and won’t need to ever worry about updates / upgrades.“

    … precisely my cup of tea

    endof10 im AGDAZ Zusammen von Windows10 auf Linux umsteigen.

    https://fosstodon.org/@codemonkeymike/114943565490915598

    YES! Normal people can use #linux

    https://fosstodon.org/@codemonkeymike/114943565490915598

  • Endof10

    Support for Windows 10 ends on October 14, 2025.Microsoft wants you to buy a new computer.But what if you could make your current one fast and secure again?

    https://endof10.org/

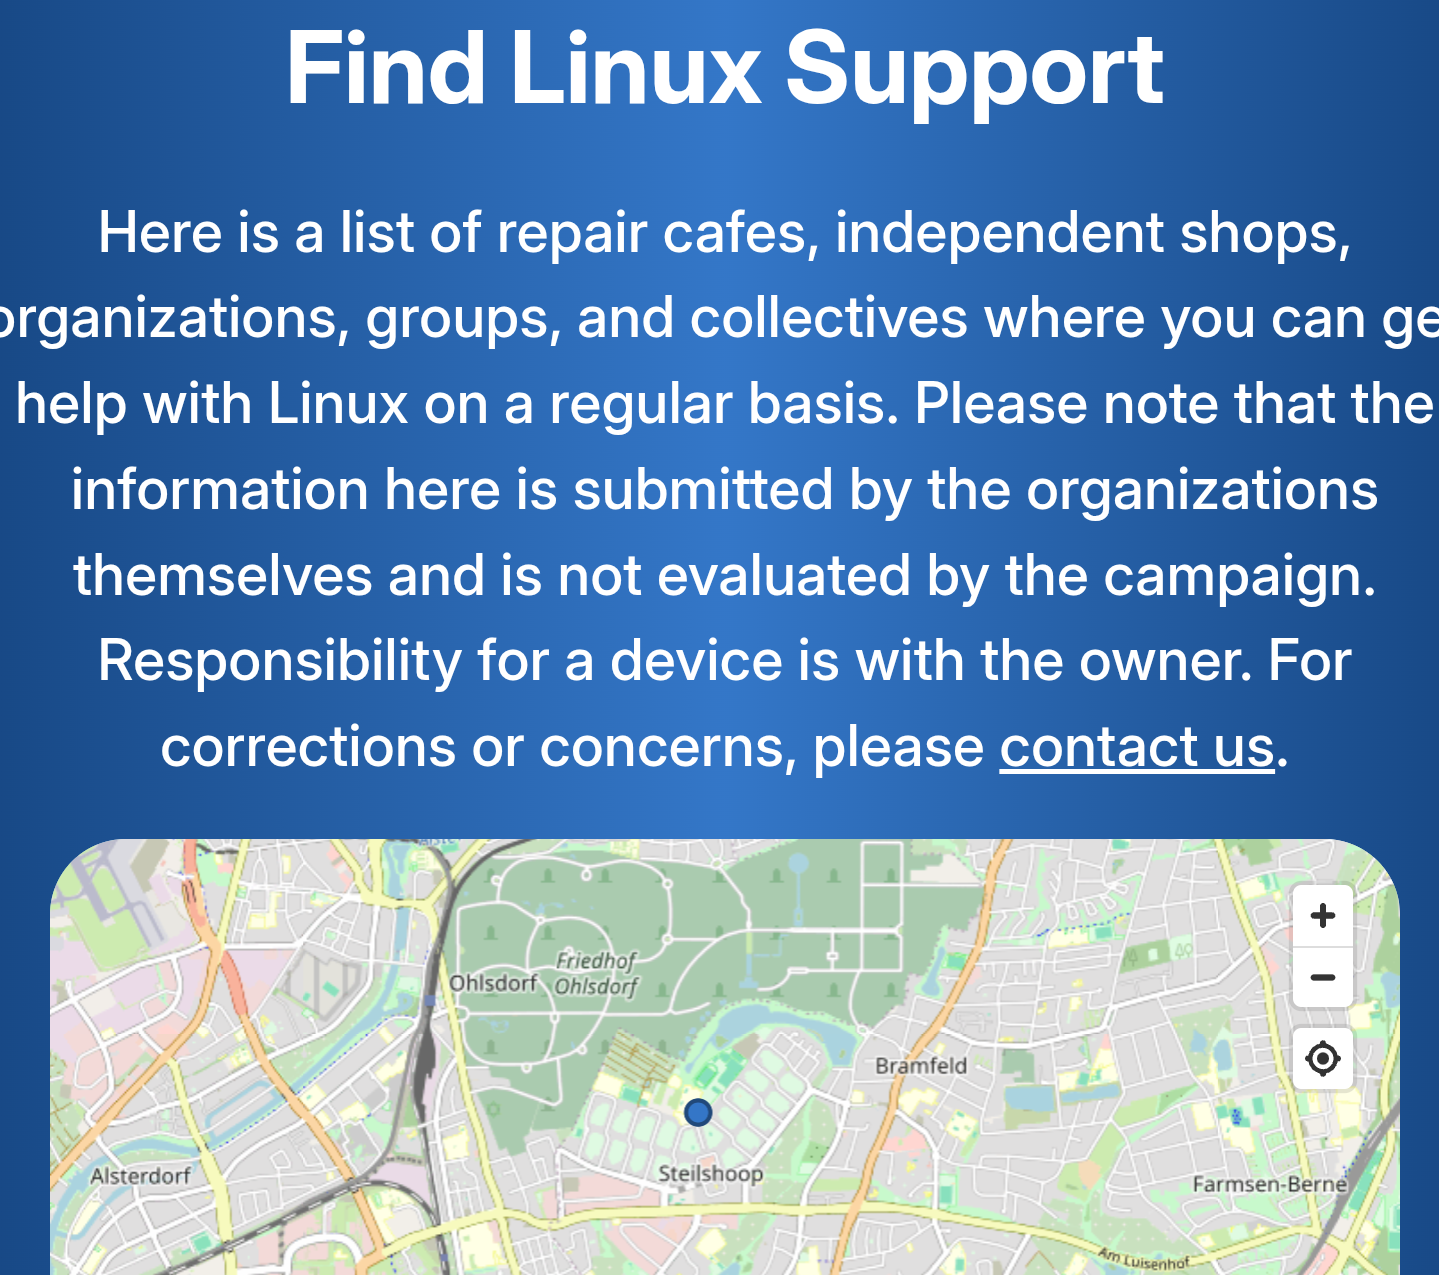
    Gemeinsam Linux installieren in Steilshoop

  • Nextcloud Installation

    Zielsystem

    Zielsystem ist eine Nextcloud-Instanz auf eigener Hardware im lokalen Netz.

    • Die Instanz kann sowohl öffentlich als auch auf das lokale Netz beschränkt betrieben werden.
    • Die Instanz wird nächtlich bei einem Backup-Provider über das Internet gesichert. Die Sicherung erlaubt einfache Wiederherstellung der Instanz im Zustand zur Zeit der Sicherung.
      • Voraussetzung zur Replikation der Instanz aus einem Backup ist ein kompatibler Linux-Server, der unter der Domäne im Internet erreichbar ist. Dementsprechend kann bei Ausfall der eigenen Hardware die Instanz
        • sowohl auf eigene Ersatzhardware,
        • als auch – vorübergehend – auf einen gemieteten virtuellen Server (VPS) ausgelagert werden.

    Nextcloud services müssen unter Domainnamen mit gültigem SSL-Zertifikat angesprochen werden1.

    Im lokalen Netz sind Zugriffe auf die Instanz jedoch performanter, wenn sie die lokale IP-Adresse benutzen, d.h. ohne den zur Namensauflösung nötigen Umweg über die öffentliche IP-Adresse zu machen.

    Um das ermöglichen, muß der benutzte Namensserver auf die lokale IP-Adresse der Instanz zeigen. Das kann – etwa für Testzwecke – durchaus in einem öffentlichen DNS passieren, wenn man hinnimmt, daß die Domain öffentliche bekannt ist, öffentliche Zugriffe aber auf Fehler laufen. Vorzuziehen ist dem ein lokaler DNS (domain name server).

    Diese Konfiguration kombiniert Zugriffe aus dem Internet über die externe IP mit effizienten Zugriffen über die lokale IP aus dem lokalen Netz. Will man darüberhinaus die Instanz vom Internet abschirmen, braucht man einen reverse proxy server, auf dessen IP die Domäne verweist, und der

    • anstatt der Nextcloud-Instanz selbst das SSL-Zertifikat der Domäne verwaltet, sowie
    • HTTPS-Zugriffe an die Instanz lokal weiterleitet und
    • ggf. weitere Domänen und Services bedienen kann, z.B. WordPress.

    Läuft die Nextcloud-Instanz nicht im Heimnetz, sondern auf einem Server im Internet, z.B. einem virtuellen privaten Server (VPS), sind Zugrffe mit lokaler IP nicht relevant. Der letztgenannte Aspekt jedoch durchaus.

    Unsere Installation zielt unter anderem darauf ab, Wechsel zwischen den Konfigurationen möglichst einfach zu machen:

    • lokale, öffentlich erreichbare Instanz
    • lokale, private Instanz
    • öffentliche Instanz (VPS)

    Installation

    siehe hier
    1. Siehe Netzwerk und Domänen 101 ↩︎
  • nextcloud-all-in-one Installation, Backup und Replikation, lokal und remote

    Voraussetzungen

    • Das Betriebssystem Debian Server ist installiert
    • man besitzt eine Domäne
    • docker ist installiert
    • auf Borgbase.com ist ein Repository für die nächtllchen Sicherungen angelegt.

    Vorgehen bei Installation oder Wiederherstellung von lokaler oder ausgelagerter Instanz

    Erstinstallation lokal

    siehe hier

    Erstinstallation auf VPS

    Die Installation unterscheidet sich von der lokalen Variante dadurch, dass kein DNS-Server installiert wird.

    Wiederherstellung

    Eine Wiederherstellung der Instanz aus Sicherung kann aus verschiedenen Gründen notwendig werden: Zum Beispiel:

    • Ausfall oder Wechsel der eigenen Hardware,
    • Wechsel des Providers bei Betrieb als VPS, Rückkehr auf eigene Hardware nach
    • vorübergehender Auslagerung als VPS.
    • fehlerhafte Software Updates,

    Fallunterscheidung

    Sind Quell- und Zielplattform der Wiederherstellunhg nicht gleich, gilt:

    • Bei Wiederherstellung einer lokalen Instanz aus einem Backup einer VPS Instanz muss der community container für pi-hole wiederhergestellt werden.
    • Bei umgekehrter Richtung muss der community container für pi-hole vor dem Start der Container deaktiviert werden.

    Die Wiederherstellung geschieht

    • bei laufendem System
      über die Administrationseinstellungen -> Nextcloud AIO Interface -> Backup and Restore.
    • bei neuer Plattform
      entsprechend der Erstinstallation, wobei statt Eingabe der Domäne die Sicherungsadresse und der Sicherungsschlüssel eingegeben werden. Daraufhin kann die Quell-Version der Instanz abgerufen werden.
  • nextcloud-all-in-one installieren – mit zugriff (auch)über lokale ip

    Die Installation entspricht im Wesentlichen der Basis-Variante in der Nextcloud-All-In-One-Dokumentation. Damit aber

    • die Instanz lokal betrieben werden kann – vgl. hier unter 2. The normal way
    • und aus Performancegründen – vgl. hier unter Additional recommendations for hosting in home networks

    unterscheidet sich unsere Installation dadurch, daß das Installationskommando im Abschnitt 3 durch einen Aufruf von docker compose mit der u.a. Konfigurationsdatei compose.yaml s.u. ersetzt wird.
    So kann die Instanz hinter einem reverse proxy und in Kombination mit einem lokalen Nameserver auch isoliert vom Internet betrieben werden.

    Ausnahme

    Der Port 80 muss allerdings für die automatische Aktualisierung des LetsEncrypt Zertikats durch den reverse proxy caddy geöffnet sein.

    Als lokaler Nameserver dient pi-hole, der auf der AIO-Administrationsseite als community container installiert wird, Siehe dazu die obigen Referenzen.

    Der reverse proxy ermöglicht parallelen Betrieb weiterer Services neben Nextcloud unter derselben Domäne, zum Beispiel wordpress.

    Backup

    Das eingebaute nächtliche Backup bei BorgBase.com wird genutzt und bei der Installation auf der Setup-Seite konfiguriert.Die einzugebende remote backup location ist der URL des Repositorys, der auf der Webseite kopiert werden kann

    Portweiterleitungen und DNS

    Heimnetz

    Im Heimnetz spielt der Router die Rolle einer Firewall gegenüber der Internet. Nextcloud benutzt folgende Ports1

    • 80: Portfreigabe benötigt für Beschaffung und Aktualisierung des LetsEncrypt-Zertifikats durch den reverse proxy.
    • für öffentlichen Betrieb
      • Portfreigaben
        • 443 tcp und udp: HTTPS
        • 3478 tcp und udp für den Talk-Service
      • optional: lokaler DNS zur Performanceverbesserung
        • Einrichtung pi-hole als community container im AIO-Setup
        • Registrierung der lokalen IP des Servers im Router als Nameserver und des vorherigen Nameservers als Alternative.
    • für lokalen Betrieb
      • lokaler DNS
        • falls der lokale DNS als community container betrieben wird, muss während des Setups die Domäne schon erreichbar sein, bevor sie im lokalen DNS eingerichtet werden kann. Dazu kann man vorübergehend in der Domänenverwaltung beim Provider eine Weiterleitung auf die lokale IP-Adresse eintragen.

    Setup

    Der Aufruf für das Setup der Instanz geschieht über docker compose, um den reverse proxy für weitere Services konfigurieren zu können.

    sudo docker compose up -d # in the file's directory

    Die Konfiguration entspricht der Datei im Nextcloud AIO Repository mit dem Unterschied, dass die dort auskommentierten Anweisungen zu Reverse Proxy bzw. Caddy aktiviert sind.

    Zusätzlich wurde eine Weiterleitung auf Port 8000 für die Subdomäne wp konfiguriert.

    services:
      nextcloud-aio-mastercontainer:
        image: ghcr.io/nextcloud-releases/all-in-one:latest
        init: true
        restart: always
        container_name: nextcloud-aio-mastercontainer # This line is not allowed to be changed as otherwise AIO will not work correctly
        volumes:
          - nextcloud_aio_mastercontainer:/mnt/docker-aio-config # This line is not allowed to be changed as otherwise the built-in backup solution will not work
          - /var/run/docker.sock:/var/run/docker.sock:ro # May be changed on macOS, Windows or docker rootless. See the applicable documentation. If adjusting, don't forget to also set 'WATCHTOWER_DOCKER_SOCKET_PATH'!
        network_mode: bridge # add to the same network as docker run would do
        ports:
          - 8080:8080
          # - 8443:8443 # Can be removed when running behind a web server or reverse proxy (like Apache, Nginx, Caddy, Cloudflare Tunnel and else). See https://github.com/nextcloud/all-in-one/blob/main/reverse-proxy.md
        environment: # Is needed when using any of the options below
          # AIO_DISABLE_BACKUP_SECTION: false # Setting this to true allows to hide the backup section in the AIO interface. See https://github.com/nextcloud/all-in-one#how-to-disable-the-backup-section
           APACHE_PORT: 11000 # Is needed when running behind a web server or reverse proxy (like Apache, Nginx, Caddy, Cloudflare Tunnel and else). See https://github.com/nextcloud/all-in-one/blob/main/reverse-proxy.md
           APACHE_IP_BINDING: 127.0.0.1 # Should be set when running behind a web server or reverse proxy (like Apache, Nginx, Caddy, Cloudflare Tunnel and else) that is running on the same host. See https://github.com/nextcloud/all-in-one/blob/main/reverse-proxy.md
    #      APACHE_ADDITIONAL_NETWORK: frontend_net # (Optional) Connect the apache container to an additional docker network. Needed when behind a web server or reverse proxy (like Apache, Nginx, Caddy, Cloudflare Tunnel and else) running in a different docker network on same server. See https://github.com/nextcloud/all-in-one/blob/main/reverse-proxy.md
          # BORG_RETENTION_POLICY: --keep-within=7d --keep-weekly=4 --keep-monthly=6 # Allows to adjust borgs retention policy. See https://github.com/nextcloud/all-in-one#how-to-adjust-borgs-retention-policy
          # COLLABORA_SECCOMP_DISABLED: false # Setting this to true allows to disable Collabora's Seccomp feature. See https://github.com/nextcloud/all-in-one#how-to-disable-collaboras-seccomp-feature
          # FULLTEXTSEARCH_JAVA_OPTIONS: "-Xms1024M -Xmx1024M" # Allows to adjust the fulltextsearch java options. See https://github.com/nextcloud/all-in-one#how-to-adjust-the-fulltextsearch-java-options
          # NEXTCLOUD_DATADIR: /mnt/ncdata # Allows to set the host directory for Nextcloud's datadir. ⚠️⚠️⚠️ Warning: do not set or adjust this value after the initial Nextcloud installation is done! See https://github.com/nextcloud/all-in-one#how-to-change-the-default-location-of-nextclouds-datadir
          # NEXTCLOUD_MOUNT: /mnt/ # Allows the Nextcloud container to access the chosen directory on the host. See https://github.com/nextcloud/all-in-one#how-to-allow-the-nextcloud-container-to-access-directories-on-the-host
          # NEXTCLOUD_UPLOAD_LIMIT: 16G # Can be adjusted if you need more. See https://github.com/nextcloud/all-in-one#how-to-adjust-the-upload-limit-for-nextcloud
          # NEXTCLOUD_MAX_TIME: 3600 # Can be adjusted if you need more. See https://github.com/nextcloud/all-in-one#how-to-adjust-the-max-execution-time-for-nextcloud
          # NEXTCLOUD_MEMORY_LIMIT: 512M # Can be adjusted if you need more. See https://github.com/nextcloud/all-in-one#how-to-adjust-the-php-memory-limit-for-nextcloud
          # NEXTCLOUD_TRUSTED_CACERTS_DIR: /path/to/my/cacerts # CA certificates in this directory will be trusted by the OS of the nextcloud container (Useful e.g. for LDAPS) See https://github.com/nextcloud/all-in-one#how-to-trust-user-defined-certification-authorities-ca
          # NEXTCLOUD_STARTUP_APPS: deck twofactor_totp tasks calendar contacts notes # Allows to modify the Nextcloud apps that are installed on starting AIO the first time. See https://github.com/nextcloud/all-in-one#how-to-change-the-nextcloud-apps-that-are-installed-on-the-first-startup
          # NEXTCLOUD_ADDITIONAL_APKS: imagemagick # This allows to add additional packages to the Nextcloud container permanently. Default is imagemagick but can be overwritten by modifying this value. See https://github.com/nextcloud/all-in-one#how-to-add-os-packages-permanently-to-the-nextcloud-container
          # NEXTCLOUD_ADDITIONAL_PHP_EXTENSIONS: imagick # This allows to add additional php extensions to the Nextcloud container permanently. Default is imagick but can be overwritten by modifying this value. See https://github.com/nextcloud/all-in-one#how-to-add-php-extensions-permanently-to-the-nextcloud-container
          # NEXTCLOUD_ENABLE_DRI_DEVICE: true # This allows to enable the /dev/dri device for containers that profit from it. ⚠️⚠️⚠️ Warning: this only works if the '/dev/dri' device is present on the host! If it should not exist on your host, don't set this to true as otherwise the Nextcloud container will fail to start! See https://github.com/nextcloud/all-in-one#how-to-enable-hardware-acceleration-for-nextcloud
          # NEXTCLOUD_ENABLE_NVIDIA_GPU: true # This allows to enable the NVIDIA runtime and GPU access for containers that profit from it. ⚠️⚠️⚠️ Warning: this only works if an NVIDIA gpu is installed on the server. See https://github.com/nextcloud/all-in-one#how-to-enable-hardware-acceleration-for-nextcloud.
          # NEXTCLOUD_KEEP_DISABLED_APPS: false # Setting this to true will keep Nextcloud apps that are disabled in the AIO interface and not uninstall them if they should be installed. See https://github.com/nextcloud/all-in-one#how-to-keep-disabled-apps
           SKIP_DOMAIN_VALIDATION: false # This should only be set to true if things are correctly configured. See https://github.com/nextcloud/all-in-one?tab=readme-ov-file#how-to-skip-the-domain-validation
          # TALK_PORT: 3478 # This allows to adjust the port that the talk container is using which is exposed on the host. See https://github.com/nextcloud/all-in-one#how-to-adjust-the-talk-port
          # WATCHTOWER_DOCKER_SOCKET_PATH: /var/run/docker.sock # Needs to be specified if the docker socket on the host is not located in the default '/var/run/docker.sock'. Otherwise mastercontainer updates will fail. For macos it needs to be '/var/run/docker.sock'
        # security_opt: ["label:disable"] # Is needed when using SELinux
    
    #   # Optional: Caddy reverse proxy. See https://github.com/nextcloud/all-in-one/discussions/575
    #   # Alternatively, use Tailscale if you don't have a domain yet. See https://github.com/nextcloud/all-in-one/discussions/5439
    #   # Hint: You need to uncomment APACHE_PORT: 11000 above, adjust cloud.example.com to your domain and uncomment the necessary docker volumes at the bottom of this file in order to make it work
    #   # You can find further examples here: https://github.com/nextcloud/all-in-one/discussions/588
      caddy:
        image: caddy:alpine
        restart: always
        container_name: caddy
        volumes:
          - caddy_certs:/certs
          - caddy_config:/config
          - caddy_data:/data
          - caddy_sites:/srv
        network_mode: "host"
        configs:
          - source: Caddyfile
            target: /etc/caddy/Caddyfile
    configs:
      Caddyfile:
        content: |
          # Adjust cloud.example.com to your domain below
          https://steilo.michaelfliegner.de:443 {
            reverse_proxy localhost:11000
          }
          https://wp.michaelfliegner.de:443 {
            reverse_proxy localhost:8000
          }
    
    volumes: # If you want to store the data on a different drive, see https://github.com/nextcloud/all-in-one#how-to-store-the-filesinstallation-on-a-separate-drive
      nextcloud_aio_mastercontainer:
        name: nextcloud_aio_mastercontainer # This line is not allowed to be changed as otherwise the built-in backup solution will not work
      caddy_certs:
      caddy_config:
      caddy_data:
      caddy_sites:

    Hilfsmittel

    • DNS Lookup – Check All DNS Records for Any Domain
    • Port Checker – Check Open Ports Online
    • shellskript zum Zurücksetzen der Instanz
    #!/bin/bash
    docker stop nextcloud-aio-mastercontainer
    docker stop nextcloud-aio-domaincheck
    docker ps --format {{.Names}}
    
    for cntr in $(docker ps --format {{.Names}})
    do
    	docker stop $cntr
    done
    docker ps --filter "status=exited"
    docker container prune
    docker network rm nextcloud-aio
    docker volume ls --filter "dangling=true"
    docker volume prune --filter all=1
    rm -rf /media/mf/kingston/*
    docker volume ls --format {{.Name}}
    docker image prune -a
    1. https://github.com/nextcloud/all-in-one?tab=readme-ov-file#which-ports-are-mandatory-to-be-open-in-your-firewallrouter ↩︎